Alright, aspiring shutterbugs, listen up! Dante T9 here, owner of Dante's Models and a guy who's been capturing the grit and glamour of this city for over seven years. You want to dive into portrait photography in NYC? You've picked the best damn city on the planet for it. The energy, the diversity, the sheer vibe of New York – it's a living, breathing backdrop for incredible portraits.
Starting out can feel overwhelming, I get it. There are a million cameras, lenses, and gadgets out there. But trust me, you don't need to break the bank to start making magic. What you do need is the right foundational gear and a whole lot of hustle. Let's talk about what actually matters.
Your First Digital Canvas: Cameras for Beginners
When it comes to your first camera, don't get hung up on the latest, most expensive gear. You need something reliable that lets you learn the fundamentals without feeling like you're navigating a spaceship.
For beginners, I often recommend starting with a solid entry-level DSLR. They're robust, have a great ecosystem of lenses, and you can find fantastic deals. A classic choice that's been a workhorse for countless photographers, myself included when I started, is something like the Canon EOS Rebel T7. It's dependable, easy to use, and gives you plenty of room to grow. You can learn manual settings, understand exposure, and really get a feel for photography without all the bells and whistles that can overcomplicate things initially.
If you're feeling a bit more adventurous and want to jump straight into mirrorless, which is the future, there are some great entry-level options there too. They're usually lighter and have excellent autofocus, but often come with a slightly higher price tag. Whichever you choose, focus on learning its capabilities inside and out.
The Eyes of Your Camera: Essential Lenses
This is where your portraits truly come alive. Forget the kit lens that came with your camera – we're going for flattering.
-
The Nifty Fifty (50mm Prime): If there's one lens you buy, make it a 50mm prime. Seriously. I've shot countless covers and editorials with this focal length. It mimics human vision, gives you beautiful background blur (that creamy bokeh!), and forces you to think about composition. For Canon users, the Canon EF 50mm f/1.8 STM is an absolute no-brainer. It's sharp, fast, and incredibly affordable. This lens will teach you more than any other. It’s perfect for capturing intimate moments in a bustling café in the West Village or a stunning headshot with the Empire State Building softly blurred in the background.
-
A Versatile Zoom (e.g., 24-70mm or 24-105mm): While the 50mm is king for portraits, a versatile zoom lens can be incredibly useful, especially when you're just starting out and exploring different styles. Something in the 24-70mm or 24-105mm range (depending on your camera's sensor size) gives you flexibility. You can go wide for environmental portraits – imagine a model against the iconic Brooklyn Bridge – or zoom in for a tighter shot without constantly swapping lenses. Look for one with a constant aperture if your budget allows (like f/2.8 or f/4) for consistent results.
Shaping the Light: Basic Lighting Setups
New York City has incredible natural light, especially during golden hour, whether you're down by the water in Dumbo or catching reflections off the skyscrapers in Midtown. But to truly elevate your portraits, you need to learn to control light.
-
Reflectors: Start here. A simple 5-in-1 reflector is incredibly versatile and cheap. You can bounce sunlight into a subject's face to fill shadows, use the silver side for more punch, or the black side to create negative fill and deepen shadows for a moodier look. I've used these in Central Park, under subway arches, everywhere. They're essential.
-
Speedlights (On-Camera Flash): Once you're comfortable with natural light, a speedlight is your next step. It's a small, portable flash unit that sits on your camera's hot shoe or can be triggered wirelessly. It lets you create your own light, fill in harsh shadows on a bright day, or even shoot incredible portraits at night. Learning to bounce a speedlight off a wall or ceiling, or diffusing it with a small modifier, is a game-changer. I personally use and recommend the Godox V860III Flash. It’s powerful, reliable, and has a rechargeable battery, which is a lifesaver when you're shooting on the go in a city that never sleeps.
The Unsung Heroes: Must-Have Accessories
These are the things that save your shoot, protect your gear, and make your life easier.
- Tripod: Essential for sharp images in low light, self-portraits, or when you want precise composition. Look for something sturdy but portable enough to lug around the city. Manfrotto makes excellent, reliable tripods.
- Memory Cards: Buy several, and always have spares. A fast card (UHS-II recommended) ensures your camera can write images quickly, so you don't miss a shot.
- Extra Batteries: This is non-negotiable. There's nothing worse than your battery dying mid-shoot when you're capturing an amazing moment in Times Square. Always have at least one fully charged spare.
- Camera Bag: A comfortable, protective bag is crucial for navigating the subway and crowded streets.
- Lens Cleaning Kit: Dust and smudges are your enemy. Keep your lenses spotless.
- Strap: Ditch the basic neck strap. A comfortable, secure strap like the Peak Design Camera Strap makes carrying your gear all day a breeze and gives you quick access to your camera.
Building Your Kit on a Budget & Where to Practice
NYC can be expensive, but your gear doesn't have to be.
- Buy Used: Check out reputable used gear sites (like B&H Photo's used department or KEH Camera). You can save a ton of money on excellent condition lenses and bodies.
- Rent Gear: Before you buy a pricey lens, rent it for a weekend. See if you love it. This is smart, especially for those more specialized lenses.
- Learn Post-Processing: A good editing software like Adobe Creative Cloud (Lightroom and Photoshop) is crucial. It's where you refine your vision and make your images pop. You can often get student discounts or monthly subscriptions.
Where to Practice in NYC? Everywhere! This city is your playground.
- Central Park: Endless backdrops, from open fields to intricate bridges.
- Brooklyn Bridge Park / Dumbo: Iconic skyline views, industrial textures, and the bridge itself.
- West Village / Greenwich Village: Charming brownstones, cobblestone streets, unique storefronts.
- Grand Central Terminal: Architectural marvels, incredible light (just be respectful!).
- Bushwick / Williamsburg: Vibrant street art, edgy urban landscapes.
- Your own neighborhood: Start with friends and family in places you know well.
The most important "gear" you can have is your eye, your passion, and your willingness to learn. Get out there, experiment, fail, learn, and shoot, shoot, shoot. This city is waiting for you to capture its soul, one portrait at a time.
Ready to take your portfolio to the next level, or looking for that iconic NYC photoshoot for yourself? Check out my work and book a session at dantet9.com, or if you've got that star quality, consider joining the Dante's Models roster. Let's make some magic.
This post contains affiliate links. If you purchase through these links, we may earn a small commission at no extra cost to you. This helps us keep creating free content and tools for the photography community.
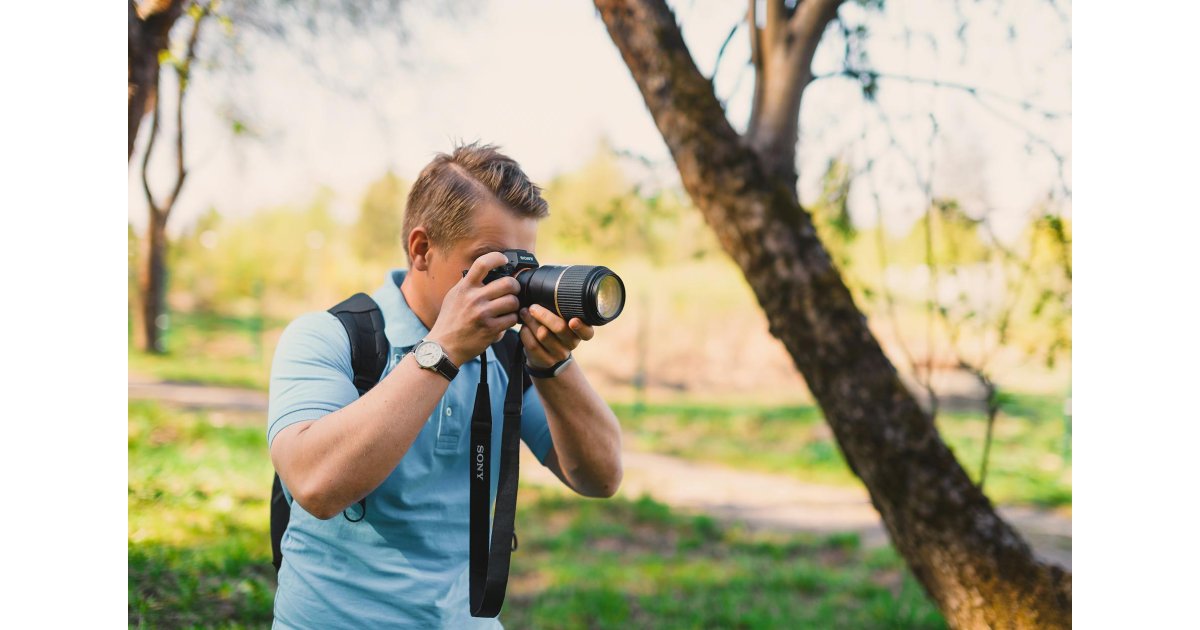
Photo by Siarhei Nester on Pexels