A before and after photo stops people mid-scroll. A light correction that turns a flat street scene into something cinematic, a retouch that brings out a model's eyes, a raw test shot next to the finished spread: people want to see what changed.
We made a free tool for this, the Before/After Slider by Dante T., at https://dantet9.com/tools/before-after-slider. You upload a "before" image and an "after" image, and it builds an interactive slider. You can download the result or embed it on your website or blog. No software, no subscription. Instead of posting two separate images, you give people something they can slide back and forth.
Why before and after shots belong in your portfolio
If you're a photographer shooting editorials in Midtown or headshots in the Financial District, a before and after shows the work behind the picture. It shows more than the finished product.
For models, the same comparison works. Put a raw, unstyled test shot from our studio next to the final retouched, styled image ready for a comp card. It shows range and what professional styling and post-production add. Casting directors and agencies see the change at a glance.
Other ways to use the slider
Retouching is the obvious use. There are others.
Location. Say you shot in a rough corner of Bushwick. Use the original street scene as the "before" and the styled, lit model in the same spot as the "after." It shows you can scout a location and place a subject in it.
Lighting. We often shoot outdoors in Central Park or along the waterfront in Long Island City. When the natural light isn't enough, we bring strobes or reflectors. The "before" is the flat natural-light frame, the "after" is the same scene with added light. That shows what you do on set, not just in editing.
Styling and wardrobe. A model in a casual everyday look in our studio, next to a high-fashion outfit with hair and makeup done. This is about what wardrobe, hair and makeup can change in a person's whole look, not digital manipulation. It also lets a model show range: girl-next-door in natural light, then an editorial look in designer clothes with dramatic lighting.
Tips for better comparisons
- Don't make the "before" terrible. You want to show improvement, not rescue an unusable shot. It should be decent but clearly lacking the polish of the "after."
- Match the framing. If the "before" is a full-body shot against a brick wall in Williamsburg, the "after" should have the same framing and pose. Then the viewer sees only your changes, not a different angle or crop.
- Pick images where the change is visible. A minor color correction won't carry as much as a full light reshape or a grade that changes the mood, like a daytime shot of Times Square turned into a neon-lit evening.
- Pick a skill to show. Retouching on a beauty shot, or handling light and shadow on a cityscape from a Manhattan rooftop. Choose images that make one point.
Where to post them
The tool lets you download the image, which works for direct uploads to Instagram, Facebook or a LinkedIn post. For a more interactive version, use the embed code on your website's portfolio or in a blog post. Visitors can slide at their own pace, which keeps them on the page longer. A "Process" section on your portfolio full of these would work well.
Social media needs a slightly different approach. The downloaded image works for Instagram carousels with short captions explaining your process. A screen recording of the slider in action makes a short video for TikTok or Instagram Reels. On Twitter or LinkedIn, the static image still works. Add a call to action, such as "What a difference light makes! Swipe to see the transformation," or "See how we brought this image to life, powered by https://dantet9.com/tools/before-after-slider." Answer comments and questions.
Showing your before shots
Posting the "before" alongside the "after" isn't admitting flaws. Clients and collaborators can see what you add. It also helps newer photographers and models see how results are made, and that good results are reachable.
For Dante's Models, it means a model's portfolio can show the change from natural look to editorial look in one swipe, and a photographer's can show a raw capture of the Manhattan skyline next to the final fine-art print.
Try the slider at https://dantet9.com/tools/before-after-slider. If you're a model who wants new "before" and "after" shots, or a brand that needs photography, you can book a shoot with us at dantet9.com.
Cover photo by Justin Piggy on Pexels.
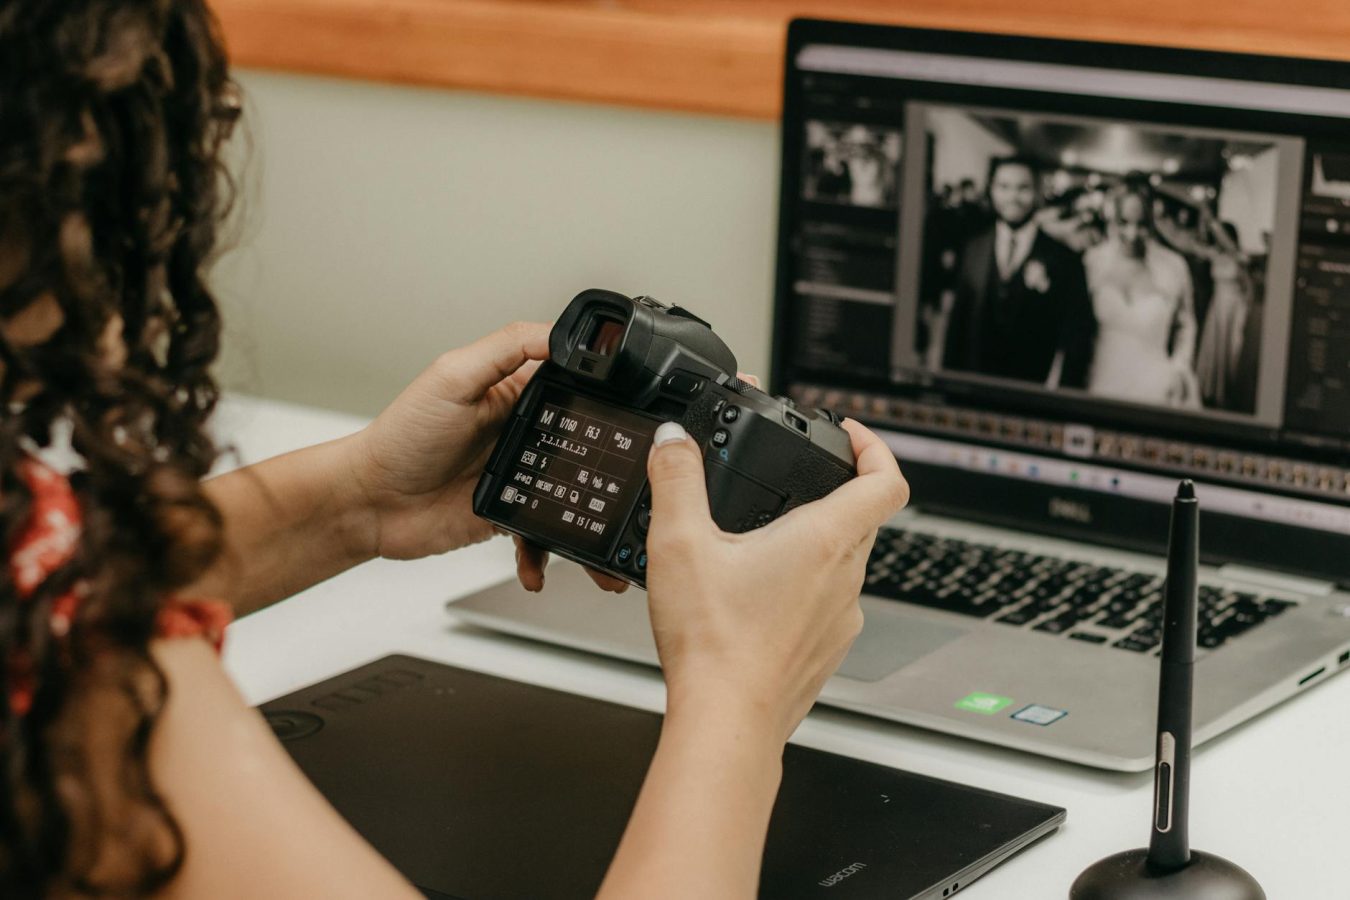
Photo by Kawê Rodrigues on Pexels