When a good shot comes out blurry
You nail the composition and the light, then you zoom in. A slight shake or a bit of low light, and the shot is soft, or pixelated and muddy. Those photos used to sit in the reject folder. Maybe it was a model's smile in the chaos of a DUMBO photoshoot, or a street artist's movement near Washington Square Park, and the focus just missed.
Why it happens
We aim to get it right in camera, but not every shot can be sharp. Candids at the Union Square farmers market or low-light work in a Lower East Side speakeasy bring a sudden gust of wind, a passerby bumping you, or a split-second choice between a faster shutter and a wider aperture.
Sometimes you did not even take the photo. It could be a friend's snapshot from a concert at Brooklyn Steel or a family picture from a picnic on Governors Island that is a little out of focus. Throwing away a shot over a minor technical flaw is a waste when the moment was good.
The digital bin
The "digital bin" is the mental folder for images that had promise but lacked sharpness. I have dragged plenty of shots from Brooklyn Bridge Park or Times Square to the trash thinking "if only." It matters most for client work or a modeling portfolio, where soft focus can make a strong pose look amateurish.
We shoot a lot of frames. During a fashion shoot in the Garment District or a headshot session in our studio, that can be hundreds, if not thousands. Even with good technique, a small percentage will be flawed. Fixing them used to be impossible, slow, or needed expensive software with a steep learning curve.
A free browser tool: Photo Enhancer
I have been testing a tool called Photo Enhancer. It is free, runs in the browser and enhances images, especially blurry or low-quality ones. There is nothing to download and no menus to learn.
Here's the link: https://dantet9.com/tools/image-enhancer
I now run slightly problematic shots through it before I open a bigger editor for color grading or retouching. Because it is browser-based, I can use it anywhere without a powerful machine.
How we use it
The results surprised me. It sharpens details and upscales resolution without the over-processed look. It does not just apply a blanket sharpening filter. It seems to know where the important detail is and enhances that.
Where it helps most:
- Slightly soft street shots: Candids in Greenwich Village or along the High Line happen fast. The tool brings back definition in faces and textures, for example on a performer's costume in Central Park or graffiti in Bushwick.
- Old digital photos: Low-res images from a first digital camera in the early 2000s can look sharp enough to share again. That includes some of my early shots around the West Village.
- Screengrabs or friends' photos: A blurry pic from a rooftop bar in Midtown or a party in SoHo is fine for a group shot if it looks sharper.
- Web images: If a downloaded image is not sharp enough for a blog post or social media story, this gives it a lift. We want crisp images on the Dante's Models site.
- Model portfolio shots: A great pose with a little motion blur can sometimes be recovered enough to use, so it does not get thrown out.
The process
Upload your image, click "enhance," and in a few seconds you get a preview of the improved version. Then download it. No accounts, no software to install, no sliders or settings. It handles various formats.
It is fast too. In the time it takes to get coffee, you can enhance several images. That helps when we are working to client deadlines or preparing content for our agency's social media channels.
What it cannot fix
It will not fix every damaged photo. A completely out-of-focus shot is still a lost cause. For images that are only a little off, it works well. Before you delete one, try it.
If you want sharp shots from the start, you can book a photoshoot with us at Dante's Models, from Brooklyn streets to Manhattan studios. See dantet9.com or try the tool at dantet9.com/tools/image-enhancer.
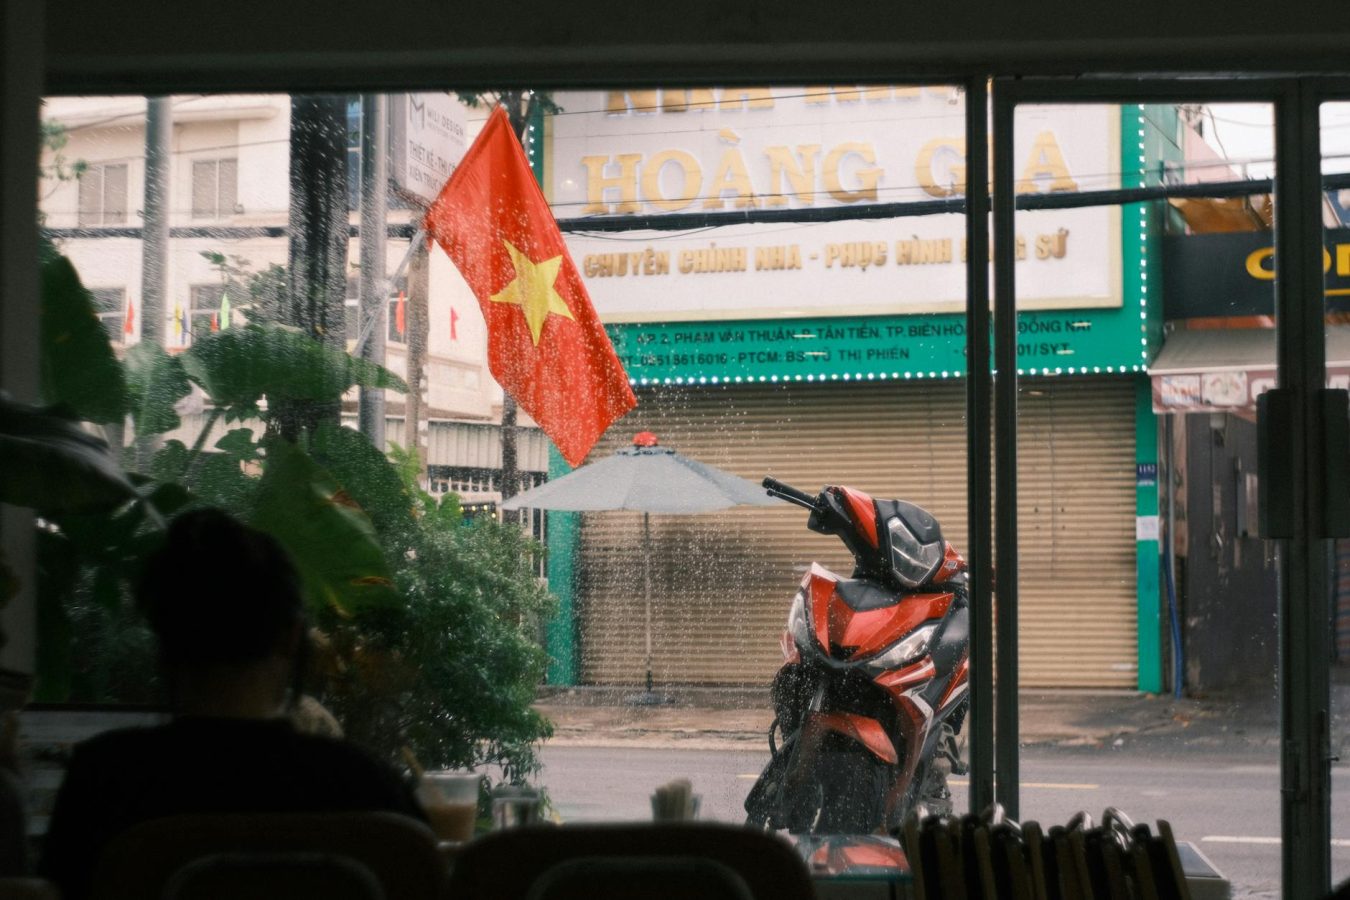
Cover photo by 🇻🇳🇻🇳 Việt Anh Nguyễn 🇻🇳🇻🇳 on Pexels.