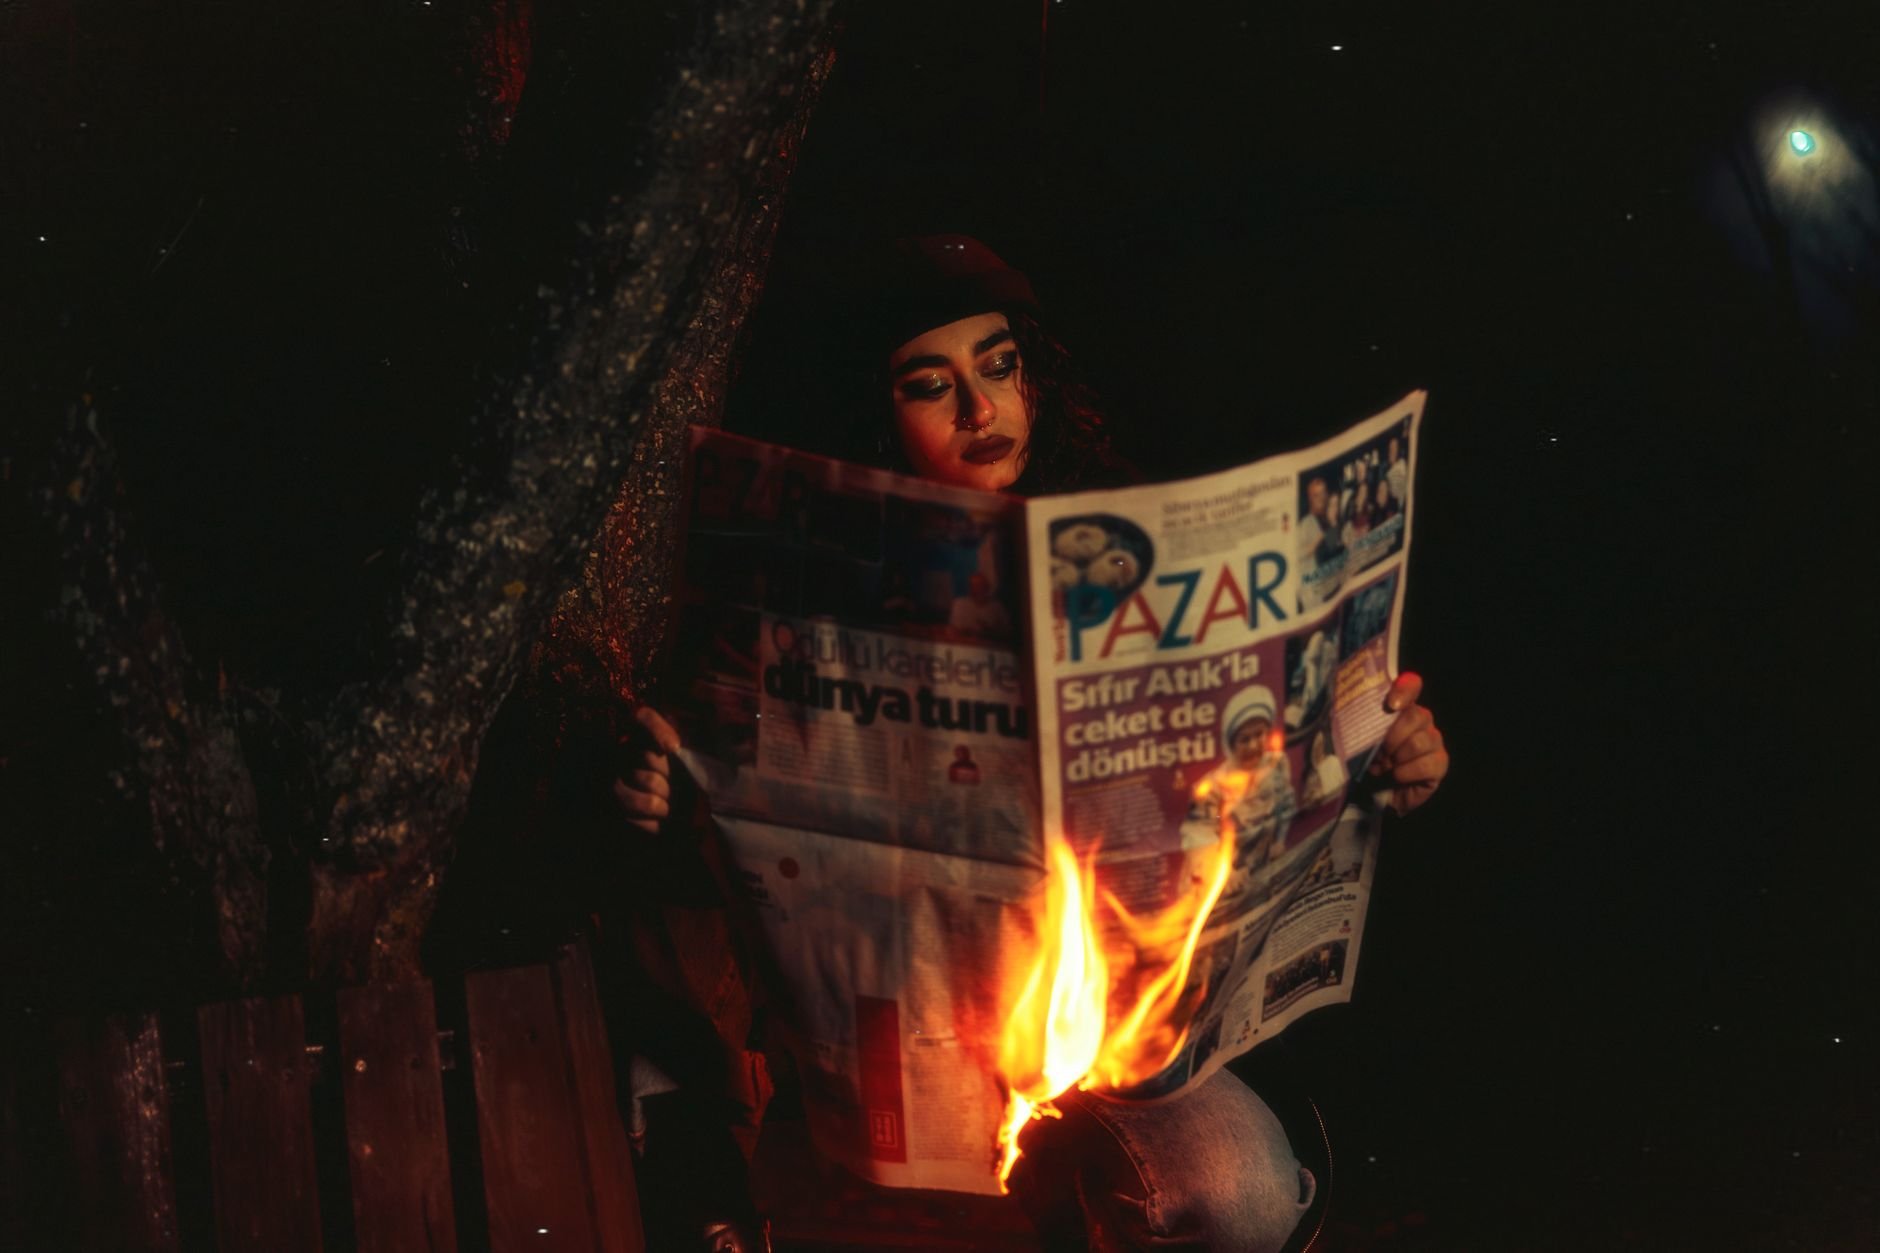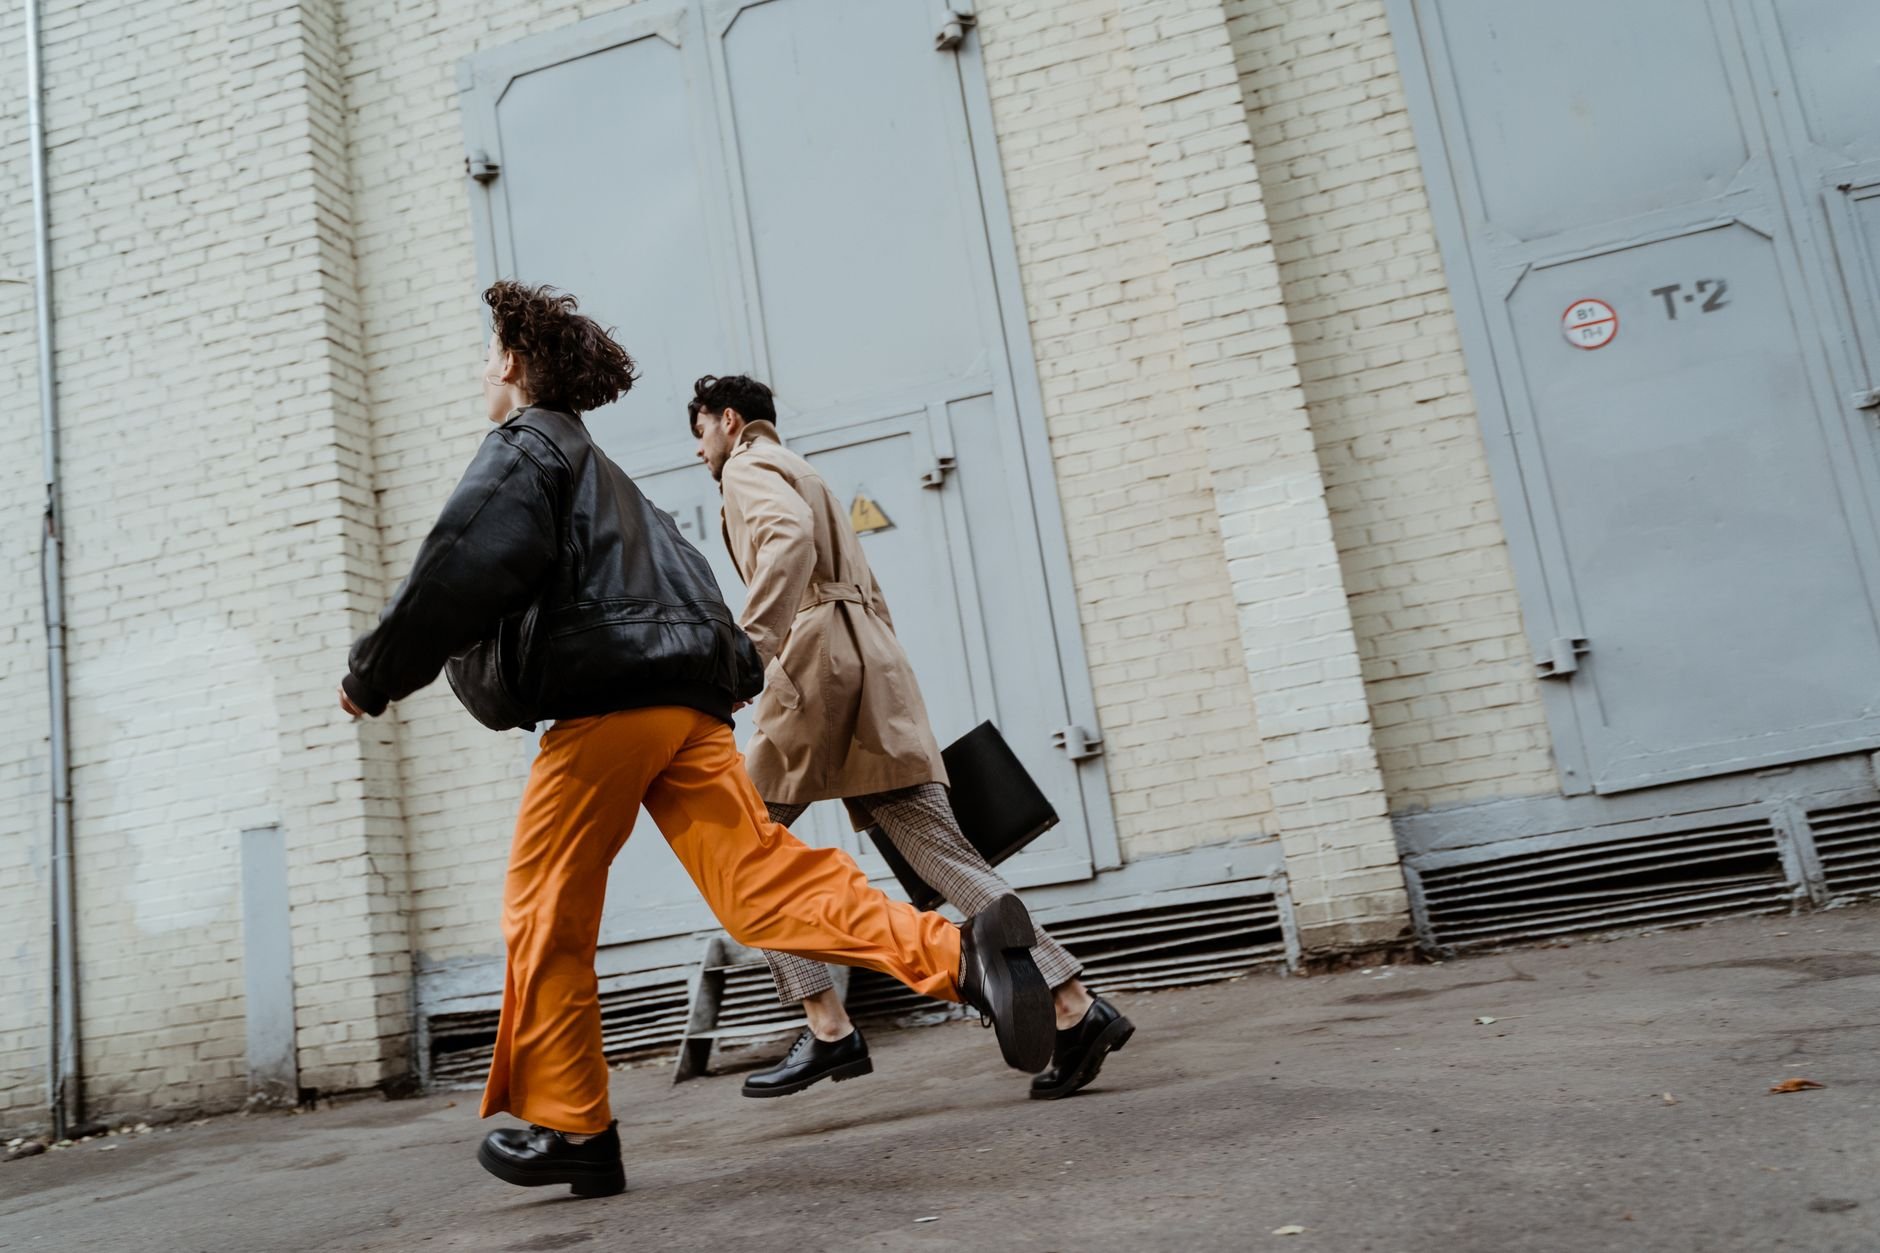
The rumble of the L train passing overhead, the smell of fresh coffee from the corner bodega, and the relentless energy of a Bushwick street art mural — that’s my everyday backdrop as a photographer here in New York. Every shot is a story, every face a canvas. But let’s be real, capturing that perfect moment is just the beginning. The real magic, the transformative artistry, often happens after the shutter clicks. You spend hours in your digital darkroom, meticulously finessing skin tones, sculpting light, and breathing life into colors. You know you've created something stunning, a true transformation from raw capture to polished masterpiece. But then comes the moment of truth: how do you actually show that journey? How do you make people stop scrolling through their endless feeds and truly appreciate the difference your skills make?
The Challenge: Static Comparisons Don't Cut It
Hey everyone, it's a common struggle: you've done some incredible work on an image, but how do you really show off that transformation? Just dropping two static images side-by-side often doesn't quite capture the magic. Think about it. You’ve got a raw street shot from the Lower East Side, all gritty and real, then your final, color-graded, retouched version that just pops off the screen, ready for a magazine spread. If I just put those two images next to each other, people might glance, nod, and keep scrolling. They might not fully grasp the effort and artistry that went into turning that initial capture into something extraordinary.
That's because the human eye, especially in our fast-paced city, is constantly seeking engagement. We’re used to dynamic content, swiping, tapping, and interacting. A static 'before' and 'after' image, while informative, can feel… well, static. It asks the viewer to mentally compare and contrast, a task that, while simple, often gets overlooked in the deluge of daily visual information. For us photographers and retouchers, it's a critical missed opportunity to showcase the true value we bring to every project, whether it's a headshot for an aspiring actor in Midtown or a fashion editorial shot in Dumbo.
Discovering a Game-Changer: The Before/After Slider
That's why I'm always on the lookout for tools that make showing off those 'before and after' moments more engaging. I stumbled upon this gem: the Before/After Slider from dantet9.com. It's totally free, super easy to use, and lets you create those viral-worthy comparison images that people just have to swipe through. Seriously, it's like finding a secret rooftop bar in Murray Hill – once you know about it, you wonder how you ever lived without it.
I've been playing around with it for a bit, and honestly, it's a game-changer for showcasing retouching, color grading, or even just demonstrating the difference between an unedited shot and a final piece. You simply upload your two images – your 'before' (the raw file, the unedited portrait from our studio in Chelsea, the unretouched beauty shot) and your 'after' (the finished masterpiece, ready for a billboard in Times Square). In a matter of seconds, it generates an embeddable slider that you can use on your website, blog, or even share as a GIF. It’s not just about showing the difference; it's about demonstrating your skill in an interactive and captivating way that a simple JPEG simply can't match.
How It Works: Simple Steps, Powerful Impact
The beauty of the Before/After Slider isn't just in its effectiveness, but also in its sheer simplicity. You don't need to be a coding wizard or spend hours learning a new piece of software. It’s designed for creators like us who value efficiency without sacrificing impact. The workflow is straightforward, making it accessible even when you're juggling multiple shoots and deadlines.
First, you visit the page. Then, you're prompted to upload your 'before' image. Think of this as your starting point – perhaps a raw file from a recent fashion shoot on the Brooklyn Bridge, or a studio portrait straight out of the camera. Next, you upload your 'after' image – this is your finished, polished, and perfected version, ready to impress. The tool processes them quickly, aligning them perfectly. Then, like magic, it presents you with a dynamic slider, allowing you to instantly visualize the transformation. You can then download it as an animated GIF, perfect for social media, or grab the embed code to drop it directly onto your website or blog. It's truly a seamless process that removes all the technical hurdles, letting you focus on the creative story you want to tell.
Beyond Retouching: Creative Applications in the Concrete Jungle
While the immediate thought for many is "retouching," the applications for this slider tool are far more expansive, especially for us working photographers in NYC. Think about all the ways we transform an image beyond just blemish removal. We're constantly molding light, manipulating color, and even changing the entire mood of a scene.
Consider a fashion shoot I did recently in the West Village. We had amazing natural light, but the client wanted a more dramatic, moody feel for the final images. I could show the bright, airy original next to the deeply color-graded, contrast-enhanced final, and with the slider, viewers can literally see the atmosphere shift before their eyes. Or what about demonstrating the power of a specific lighting setup? Imagine a 'before' shot taken with ambient light in a studio, and an 'after' with a complex three-point lighting setup. The slider instantly highlights the impact of your lighting choices. It’s also fantastic for demonstrating environmental clean-up – say, removing distracting elements from a busy street scene in Midtown, or even showing the subtle differences between various lens corrections or aspect ratio crops. It’s a powerful visual storytelling device that adapts to so many facets of our craft.
Maximizing Engagement: Getting Those Swipe-Rights
The goal, ultimately, is to stop the scroll and get people interacting with your work. In a city like New York, where everyone is constantly bombarded with visual stimuli, you need every edge you can get. The Before/After Slider delivers on that front by turning a passive viewing experience into an active one.
When you share these sliders on platforms like Instagram, Facebook, or even your professional portfolio, you're not just showing an image; you're creating a mini-narrative. People are naturally curious about process and transformation. They want to see how you took that initial shot of a model against a gritty wall in Bushwick and turned it into a high-fashion editorial spread. The act of swiping back and forth creates a sense of discovery and encourages them to spend more time engaging with your work. This increased engagement signals to algorithms that your content is valuable, potentially leading to greater reach and visibility. Plus, it subtly educates your audience about the true value of professional photography and retouching – it's not just clicking a button, it's an art form.
Storytelling and Professionalism: Elevating Your Brand
As a working photographer in a competitive market like NYC, your portfolio is your handshake, your resume, and your pitch all rolled into one. How you present your work speaks volumes about your professionalism and your attention to detail. Using tools like the Before/After Slider isn't just about showing off; it's about communicating your expertise and the depth of your skill set.
When I’m meeting with potential clients, whether it’s for a corporate headshot project in the Financial District or a lifestyle shoot in SoHo, being able to visually demonstrate the 'before' and 'after' of my work instantly builds trust. It shows them that I understand the nuances of post-production and that I can take a good shot and elevate it to a great one. It’s a tangible way to prove the value proposition of hiring a professional. It tells a story – the story of your creative journey with that image – and stories are what truly resonate with people, making your brand more memorable and desirable. It’s a fantastic way to highlight your skills and prove the value you bring to every shot.
Final Thoughts: Give It a Try!
Look, we're all out here hustling, trying to make our mark in this incredible, demanding city. Every tool that can give us an edge, that can help us tell our story more effectively, is worth exploring. The Before/After Slider from dantet9.com is one of those tools. It's free, it's simple, and it's incredibly effective at showcasing the transformative power of your photography and retouching skills.
Whether you're a seasoned pro showcasing your latest beauty editorial, a burgeoning artist demonstrating your lighting prowess, or a portrait photographer illustrating the magic of a polished headshot, this tool is going to level up your presentation game. Give it a try, and let me know how you're using it to make those swipe-right transformations for your portfolio. We're always looking to connect with amazing talent, and if you're looking to update your portfolio with some truly transformative images, don't hesitate to reach out. Book a photoshoot with us at dantet9.com and let’s create some magic together!
Cover photo by Thomas Hoang on Pexels.
Photo by Shotkit on Pexels