Most of the work on a photo happens after the shutter clicks. You spend hours on skin tones, light and color. Then you have to show people what you did. Two static images side by side often do not get across the effort. Someone glances at them and keeps scrolling.
Why static comparisons fall flat
Take a raw street shot from the Lower East Side, then the final version, color graded and retouched. Put them next to each other and the viewer has to compare them in their head, which most people skip when they are scrolling. That is a missed chance to show what you add to a project, whether it is a headshot for an actor in Midtown or a fashion editorial in Dumbo.
The Before/After Slider
We use the free Before/After Slider on dantet9.com. You upload two images and it makes a comparison slider. It works for retouching, color grading, or the difference between an unedited shot and a final one.
How it works
You do not need any coding or new software.
- Open the page.
- Upload your "before" image, for example a raw file from a fashion shoot on the Brooklyn Bridge or a studio portrait straight out of the camera.
- Upload your "after" image, the finished version.
- The tool lines them up and shows a slider so you can see the change.
- Download it as an animated GIF for social media, or copy the embed code for your website or blog.
Other uses
The slider is good for more than retouching. You can show:
- Mood. On a fashion shoot in the West Village we had good natural light, but the client wanted something darker and moodier. The bright original next to the color-graded final shows the change right away.
- Lighting. A "before" shot with ambient light in a studio and an "after" with a three-point lighting setup.
- Clean-up. Distracting elements removed from a busy street scene in Midtown.
- Corrections and crops. Lens corrections or different aspect ratio crops.
Why it holds attention
Dragging a slider back and forth is more active than looking at a pair of photos. People are curious about process. They want to see how a shot of a model against a rough wall in Bushwick became a fashion editorial. Posting a slider on Instagram, Facebook or your portfolio also shows clients that retouching takes real work.
Using it with clients
Your portfolio is your pitch. In a meeting about a corporate headshot project in the Financial District or a lifestyle shoot in SoHo, being able to show the before and the after is simple proof that you handle post-production well and can turn a good shot into a better one.
Try it
The Before/After Slider is free and takes a few minutes. If you want new images for your portfolio, book a photoshoot with us at dantet9.com.
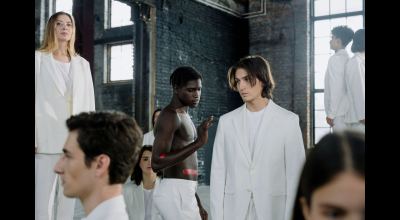
Cover photo by Thomas Hoang on Pexels.
Photo by Shotkit on Pexels